Preparing and Uploading Images for a Faster, Better Website
Images are a vital part of any website, enhancing visual appeal, engaging visitors, and supporting content. However, improperly optimised images can slow down your WordPress site, affect user experience, and hurt SEO performance. Whether you’re using the WordPress website editor or the DIVI page builder, optimising your images can make a significant difference.
Image optimisation in WordPress is essential for maintaining a fast, user friendly, and SEO-optimised website. You can create a better experience for your visitors while boosting your site’s performance by properly preparing images, choosing the right formats, and following best practices. For DIVI users, the built-in tools make it easy to manage images efficiently without compromising design quality.
Why Image Optimisation Matters in WordPress
Before we dive into the process, it’s important to understand why optimising images is crucial. Optimising images ensures that you strike the perfect balance between quality and performance.
Improved Page Speed
Large, uncompressed images can slow down your site. Faster sites retain visitors and rank better on search engines.
Better User Experience
Visitors expect pages to load quickly and display crisp, high-quality images.
SEO Benefits
Search engines reward sites that load faster and follow good image practices.
Reduced Hosting Costs
Smaller image file sizes consume less server space and bandwidth.
Preparing Images Before Uploading to WordPress
Proper preparation is key to successful image optimisation. Here are steps to follow before you upload images.
Choose the Right Image Format
- JPEG – Best for photographs or images with many colours.
- PNG – Use for graphics, icons, or images requiring transparency.
- WebP – A modern format offering smaller file sizes with excellent quality. WordPress now supports WebP natively.
- SVG – For vector graphics like logos (requires additional plugins in WordPress).
Resize Images to the Appropriate Dimensions
Uploading unnecessarily large images is a common mistake and will slow down your website and take up unnecessary space on the server.


Compress Images Without Losing Quality
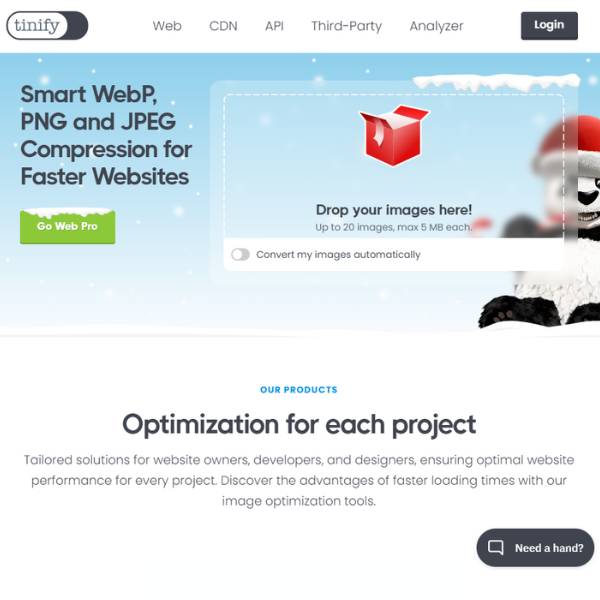
Use compression tools to reduce file size while maintaining quality. Compression can reduce image size by up to 80%, ensuring faster loading. Some popular options include websites and WordPress plugins.
Name Images Appropriately
Give your images descriptive filenames instead of generic ones like IMG_1234.jpg. Descriptive filenames improve SEO and make it easier to manage your image library.
- bad (like… really bad… don’t do this) –
IMG_0016744ff56tt.jpg - good –
blue-vintage-car.jpg
Uploading Images to WordPress (and DIVI)
Once your images are ready, the next step is uploading them to your WordPress site.
WordPress Media Library
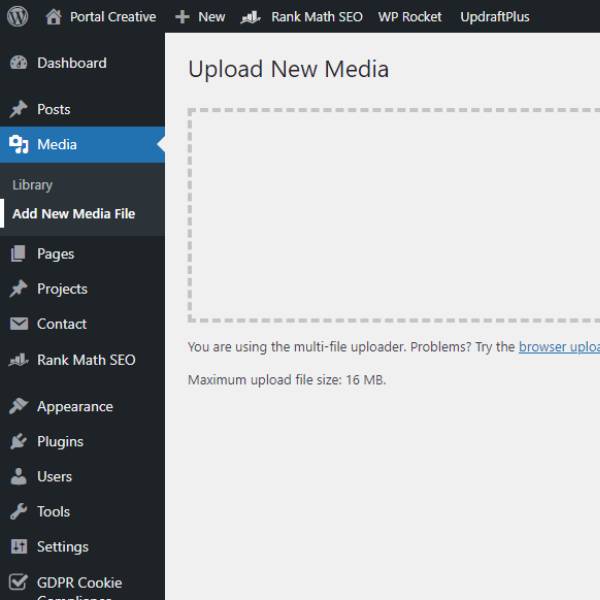
- Go to Media > Add New to upload images directly.
- WordPress automatically generates multiple image sizes (thumbnail, medium, large) for efficiency.
- DIVI will create a few more default image sizes for the gallery, portfolio and blog modules. If you have Woocommerce installed then it will also create images for the standard Woocommerce page layouts and products.
Add Alt Text for Accessibility and in turn SEO
Alt text (alternative text) provides a description of the image for screen readers and search engines. Divi allows you to easily add alt text when uploading images via its Media Library integration.
- Use concise and relevant descriptions, incorporating keywords naturally.
- Alt text for a blog header image could be “Optimising images in WordPress for faster loading times.”
Best Practices for Image Optimisation in WordPress
Avoid Uploading Uncompressed Images
Never upload raw images directly from your camera or phone. Always compress them first.
Optimise for Retina Displays
For high-resolution displays, consider doubling your image resolution (e.g., 800px image saved at 1600px width). Tools like Divi’s responsive settings make this easy to handle.
Keep Image Library Organised
Use clear filenames and create folders to avoid a cluttered Media Library, especially if your site uses lots of visuals.
Use a WordPress Image Optimisation Plugin
Plugins like Smush, ShortPixel, and EWWW Image Optimizer automate compression and help with bulk optimisation.
Implement Lazy Loading
Lazy loading ensures that images load only when they come into view, improving page speed. WordPress enables lazy loading by default for images, and Divi supports this natively too. Chat to us about using WP Rocket on your website
Monitor Site Performance
Use tools like Google PageSpeed Insights or GTmetrix to test your site’s performance and identify image-related issues.


